The first time I noticed the grout, really noticed it, I was sitting on the kitchen floor with a mug of tea, waiting for the kettle to cool so I could scrub a pot. Afternoon light was spilling across the tiles in a way it usually didn’t, tracing out each line of grout like a map. And there it was: the once-cream grid that framed every tile had turned into a shadowy network of charcoal. It was like someone had quietly drawn over the whole floor with a blunt pencil while I wasn’t looking. I rubbed one line with the side of my thumb. Nothing. I sighed, already imagining the harsh sting of bleach, the headache from vinegar, that chemical tang that hangs in the air long after you’ve finished cleaning. There had to be another way, I thought. Something quick. Something that didn’t make my kitchen smell like a swimming pool or a chip shop. I had no idea, in that moment, that the answer was already sitting in my cupboard, small, unassuming, and completely overlooked.
The Day the Floor Told the Truth
The trouble with tile floors is that they’re brutally honest. Wood will soften edges; carpet will swallow stains; but tiles under good light tell the truth. Every crumb, every drip of coffee, every muddy paw print has a place to settle, and it’s usually the grout that pays the price.
Maybe you know this scene. You glance down as you walk across the bathroom or the hallway, and there it is: the familiar betrayal. The tiles themselves look fine, maybe even glossy, but the grout lines have gone from pale and tidy to a grim little maze of gray or even black. They make the whole floor look tired, no matter how often you mop.
For years, I did what so many of us do. I bought stronger detergents. I steamed. I spritzed on “miracle” sprays. I tried the vinegar trick that everyone swears by, carefully ignoring the way my eyes watered and my throat tightened. Once, in a moment of sheer desperation, I poured a bit of bleach into a bucket and watched the fumes curl up like a warning. I opened every window. The floor got lighter, sure, but I did not feel particularly triumphant. I felt exhausted, slightly nauseous, and faintly guilty.
Still, the blackening crept back, slow but determined. The grout held on to memories in a way I didn’t ask it to. Footsteps, spills, soap scum, the invisible film of everyday life—it all settled in the tiny pits and pores between tiles, a ghostly record of all the days lived on top.
And then, one ordinary weekend, I stumbled on the hack that changed everything. No vinegar. No bleach. No gas mask required. Just a little shift in ingredients, and a new way of seeing this nagging chore as something almost—dare I say it—satisfying.
The Gentle Grout Rescue (With What You Already Have)
This story starts, as cleaning stories often do, with frustration and a cupboard rummage. I was hunting for something completely different when my hand closed around a small, familiar box: baking soda. Plain, old, kitchen-shelf baking soda. Nearby, tucked behind a stack of cloths, was a bottle of gentle, fragrance-free dish soap. And on the shelf above, half-forgotten from a skincare phase, a bottle of 3% hydrogen peroxide. Nothing dramatic. Nothing that made my eyes water just by reading the label.
What I didn’t realize yet was that together, these three would become the quickest, least-aggressive rescue team my grout had ever met.
Here’s the simple, no-vinegar, no-bleach combination that quietly changed my entire floor:
- Baking soda – the mild scrubber, soft but persistent.
- Hydrogen peroxide (3%) – the brightener, fizzing gently into the tiny crevices.
- A drop or two of dish soap – the grease-cutter, helping lift whatever’s been clinging on for dear life.
There’s something wonderfully low-drama about these ingredients. The baking soda feels almost like damp sand between your fingers, slightly gritty but not sharp. The peroxide has that clean, almost clinical clarity to it—no heavy scent, just a quiet promise. The dish soap, if you choose a mild one, barely adds more than a whisper of foam.
When you mix them together, it doesn’t feel like you’re suiting up for some toxic battle. It feels like you’re making a paste—simple, almost domestic, like stirring batter. The mixture thickens into something pale and spreadable, not unlike a gentle face mask, except this time the face is the floor.
The Quick-Mix Paste
You don’t need precision tools. A small bowl, an old spoon or stick, and a toothbrush that’s retired from dental duty will do. Scoop a few spoonfuls of baking soda into the bowl. Splash in just enough hydrogen peroxide to turn it into a paste—think yogurt, not soup. Add a small drop of dish soap, stir, and watch it smooth out into something that looks unremarkable… right up until you put it to work.
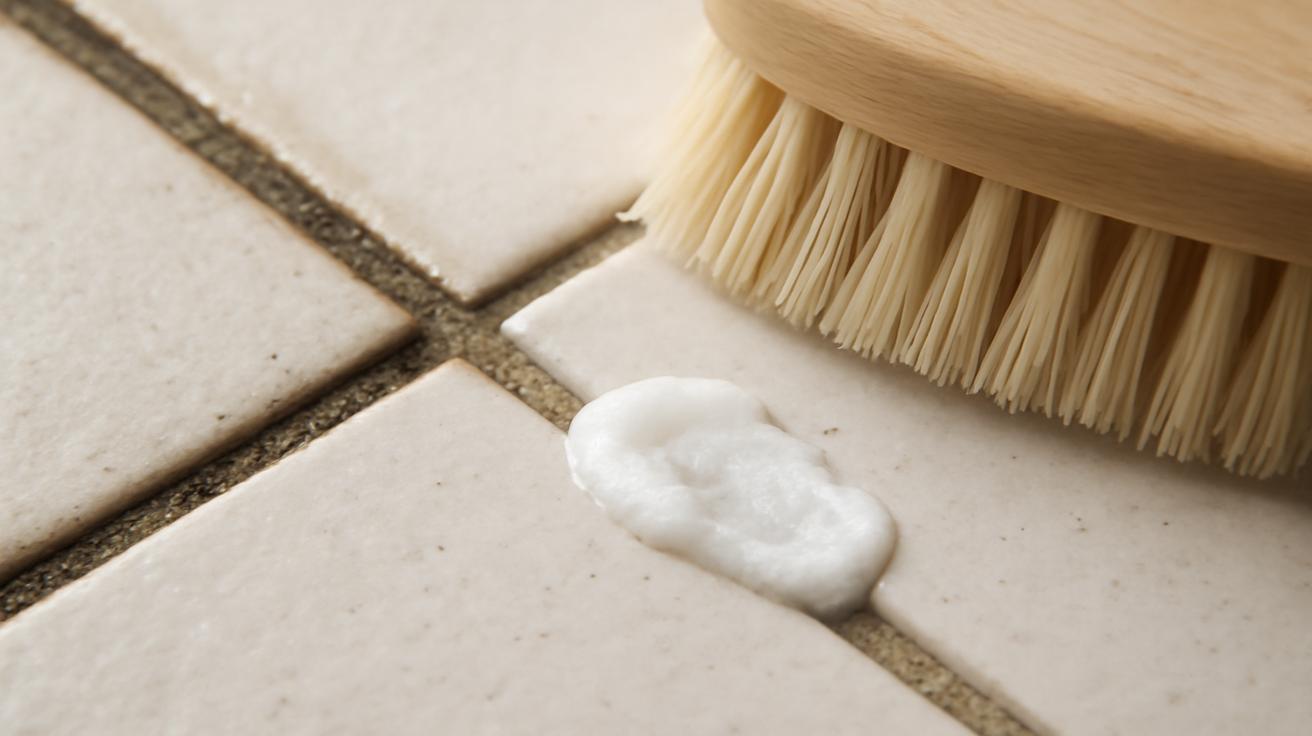
There’s a small thrill in the first swipe. Drag the brush, loaded with the paste, along a haunted line of dark grout. You feel the gentle resistance of the grainy baking soda, the little bubbles waking up from the peroxide. The paste clings, nestling into grooves you can’t even see, as if it knows where the dirt likes to hide.
You don’t have to scrub like you’re punishing the floor for all its sins. Just work the mixture in with patient, steady strokes. Let it sit a few minutes, no need for an hour-long siege. Then wipe away with a damp cloth or sponge and watch as the darkness lifts, revealing something you might not have seen in months: grout that looks like it belongs in the same decade as the tiles.
The Moment the Floor Looked New Again
There is a particular kind of satisfaction in cleaning grout that no other household chore quite delivers. It’s the contrast. The before and after are separated not in days but in inches. One line dull and shadowed. The next, pale and sharp, like fresh chalk on a blackboard.
When I first tried the baking-soda–peroxide paste, I started in a small, inconspicuous corner of the kitchen, half expecting it to be fine but not miraculous. The patch I chose was especially grim: near the stove, where cooking splatters come to rest, and not far from the path we always walk in with shoes we should have taken off earlier.
I spread the paste, brushed it in, walked away to rinse a cup, and came back with a damp microfiber cloth. The wipe was almost lazy. No furious scrubbing, no red knuckles. The dark line I’d been half-ignoring for months gave way, sliding off under the cloth like old makeup at the end of a long day. Underneath, the grout was not perfect—it had lived a life, after all—but it was unmistakably lighter, fresher, almost cheerful.
This is how these things hook you. You tell yourself you’ll only do one patch. Just that small corner. Just enough to prove it works. Then you straighten up, look back, and see that neat little rectangle of revived grout bordered by dullness on every side. The floor looks like it’s winking at you: go on, just one more strip. And suddenly, you’re following the grid lines like a treasure map.
There was no chemical sting burning the back of my throat. The air felt clear. The smell was only faintly soapy, almost cozy. Sunlight moved across the tiles as I worked, catching the slight damp sheen and making the cleaner lines of grout almost glow. It felt less like scrubbing a battlefield and more like restoring something that had quietly asked for help.
A Handy Snapshot of the No-Bleach, No-Vinegar Hack
Here’s a simple rundown you can glance at on your phone while you’re kneeling on the tiles, mixing and brushing:
| Step | What You Do | Quick Notes |
|---|---|---|
| 1. Dust & Sweep | Sweep or vacuum the floor so loose dirt doesn’t turn to mud. | This makes the paste work better. |
| 2. Mix Paste | Combine baking soda + a little 3% hydrogen peroxide + a drop of dish soap. | Aim for thick, spreadable paste. |
| 3. Apply to Grout | Use an old toothbrush to brush the paste along grout lines. | Work in small sections. |
| 4. Let Sit | Leave it for about 5–10 minutes. | Perfect time to make tea. |
| 5. Wipe & Rinse | Wipe with a damp cloth or mop; rinse with clean water. | Change water if it gets cloudy. |
| 6. Dry | Let air-dry or buff with a dry towel. | Avoid walking on it while wet. |
Listening to What Your Floor Is Made Of
Not all grout is the same, and not all tiles want to be treated equally. Some floors are tougher than they look; others, more fragile than their stone-like faces suggest. The trick is to listen—to pay attention the way you might to a friend’s boundaries.
If your grout is sealed and in good shape, this gentle paste usually feels like a spa treatment: just enough scrub to wake it up, not enough to wear it down. If your grout is older, crumbling at the edges, or badly stained, you may need to tread more softly—lighter pressure, shorter contact time, a smaller test area first.
Glossy ceramic or porcelain tiles take this routine in stride. They shrug it off, then catch the light as if thanking you. Natural stone, though—marble, limestone, travertine—can be more sensitive. Baking soda is mild, but it’s still an abrasive. On very soft, polished stone, it’s wise to test in a hidden corner first, watching carefully for any dulling of the surface.
This is the part of the story where patience saves you heartache. A few minutes spent doing a tiny test can spare you from regretting an over-enthusiastic cleaning session. When in doubt, you can ease back on the scrubbing and let time do more of the work: a slightly looser paste, a bit more hydrogen peroxide, and a softer cloth instead of a stiff brush.
And then there’s color. White grout is the one that shouts its grievances the loudest, turning gray and dingy like a tired T-shirt. Darker grout hides more, but it can still collect a sheen of life’s residue that dulls it. The beauty of this no-bleach, no-vinegar hack is that it doesn’t try to blast the grout with brute force. It lifts, it loosens, it brightens—without stripping away the personality your floor has gathered over time.
Living with a Floor You Actually Like
Once you’ve seen your grout restored from shadow to light, living with the floor becomes different. You notice the way morning sun runs along the lines, how the pattern suddenly feels sharper, more intentional. The whole room seems cleaner, even on days when there’s a scattering of crumbs after breakfast or a stray leaf blown in from the doorstep.
There’s also a psychological relief in knowing that maintenance no longer requires an entire afternoon, a face mask, and an open-window strategy. You can treat this like any small ritual. Once a month, or whenever you catch the lines dimming again, you mix a quick bowl of paste, pick a section—maybe just the high-traffic path from door to sink—and bring it back to life in the space of a podcast episode.
Turning a Chore into a Ritual
There is a fine line between chore and ritual, and often it’s simply the story we attach to what we’re doing. Scrubbing grout with harsh chemicals feels like punishment: for ourselves, for the floor, for all the spills and footsteps that came before. But kneeling down with a small bowl of non-threatening paste, watching it coax old dirt out of tiny crevices—that can feel surprisingly meditative.
You might notice the small details you usually gloss over when you’re in a rush. The tiny chip on the edge of a tile that reminds you of the day someone dropped a mug. The faint, ghost-like stain near the door where muddy boots once marched through a storm. The way the grout lines lead your eye, guiding you around the room like paths on a map.
In a world that often pushes us to upgrade and replace, there’s something quietly radical about choosing instead to restore. To say, I’ll keep this floor, but I’ll give it back its brightness. No clouds of bleach. No vinegar sharp enough to taste in the back of your mouth. Just patience, simple ingredients, and a bit of curiosity about what might be hiding under the shadows.
When you’re done, there’s no dramatic finish. No need to flee the room. You wring out the last of the cloudy water, wipe down the bowl, leave the toothbrush by the bucket for next time. Then you walk barefoot across the tiles and feel the cool, even surface under your feet, knowing that the grid beneath you is no longer quietly darkening with every step.
Goodbye to blackened grout, then. Not in a blaze of chemicals, but in a soft, almost tender routine that fits into ordinary days. A quick hack that doesn’t shout, but quietly, steadily, gives you back a spotless tiled floor—one line of grout at a time.
FAQ: Your Questions About Spotless Grout, Answered
How often should I clean my grout with this method?
For most homes, a light session every 4–6 weeks in high-traffic areas is enough. Lower-traffic rooms can go longer and just be refreshed when you notice the grout looking dull.
Is hydrogen peroxide safe to use around pets and kids?
Standard 3% hydrogen peroxide is generally considered low-risk when used properly and rinsed well. Keep pets and children out of the room while you’re cleaning and until the floor is fully rinsed and dry.
Can I use this paste on colored grout?
Yes, many people safely use baking soda and 3% hydrogen peroxide on colored grout. Always test a small, hidden spot first to make sure it doesn’t lighten or change the color.
What if I don’t have hydrogen peroxide?
You can still use baking soda and a bit of dish soap with warm water. It won’t brighten as dramatically, but it will still lift a lot of everyday grime from the grout.
Will this work on mold or mildew in bathroom grout?
It can help lift surface mildew stains and soap scum. For deeper mold problems, good ventilation and, in some cases, targeted mold treatments may still be needed. Always dry the area well afterward to discourage it from returning.
Can this method damage my tiles?
On ceramic and porcelain tiles, this combo is usually very safe. On softer natural stone, test in a corner first and use gentle pressure, as baking soda is still a mild abrasive.
Do I need to reseal the grout after cleaning?
If your grout is older or in a high-moisture area, sealing after a thorough clean can help keep it looking fresher for longer. Cleaning with this gentle paste is a good step to take before applying any sealer, so it locks in a cleaner surface.